事前准备
Chrome Extensions开发指南 - Chrome Developershttps://developer.chrome.com/docs/extensions/mv3/
创建项目
安装核心依赖
1
| npm install @samrum/vite-plugin-web-extension -D
|
该依赖通过 vite plugin 钩子实现了资源路径转换,并根据 manifest 对象生成 serviceWorker.js 和 manifest.json 文件,详情信息请查看官网
安装辅助依赖
适用于 TypeScript chrome 全局API
1
| npm install @types/chrome -D
|
使用方法
vite.config.ts
1
2
3
4
5
6
7
8
9
10
11
12
13
14
15
16
17
| import { defineConfig } from 'vite'
import vue from '@vitejs/plugin-vue'
import webExtension from '@samrum/vite-plugin-web-extension'
import manifest from './src/manifest'
export default defineConfig({
...,
plugins: [
vue(),
webExtension({
manifest: {
...manifest,
},
}),
],
})
|
src/manifest.ts
下方的 backgroud、default_popup、options_ui 属性,路径填写:
从项目根目录开始,@samrum/vite-plugin-web-extension 插件会将该路径自动注册到vite开发服务器中
参考 vite Mpa,构建生产版本 | Vite 官方中文文档 (vitejs.dev)
1
2
3
4
5
6
7
8
9
10
11
12
13
14
15
16
17
18
19
20
21
| import pkg from '../package.json'
const manifest: chrome.runtime.Manifest = {
manifest_version: 3,
name: pkg.name,
version: pkg.version,
description: pkg.description,
host_permissions: ['*://*/*'],
background: {
service_worker: 'src/entries/background.ts',
},
action: {
default_popup: 'src/entries/popup/index.html',
},
options_ui: {
page: 'src/entries/options/index.html',
open_in_tab: false,
},
}
export default manifest
|
tsconfig.json
将 chrome api 注入到全局
1
2
3
4
5
6
7
| {
"compilerOptions": {
......,
"types": ["@types/chrome"]
},
......
}
|
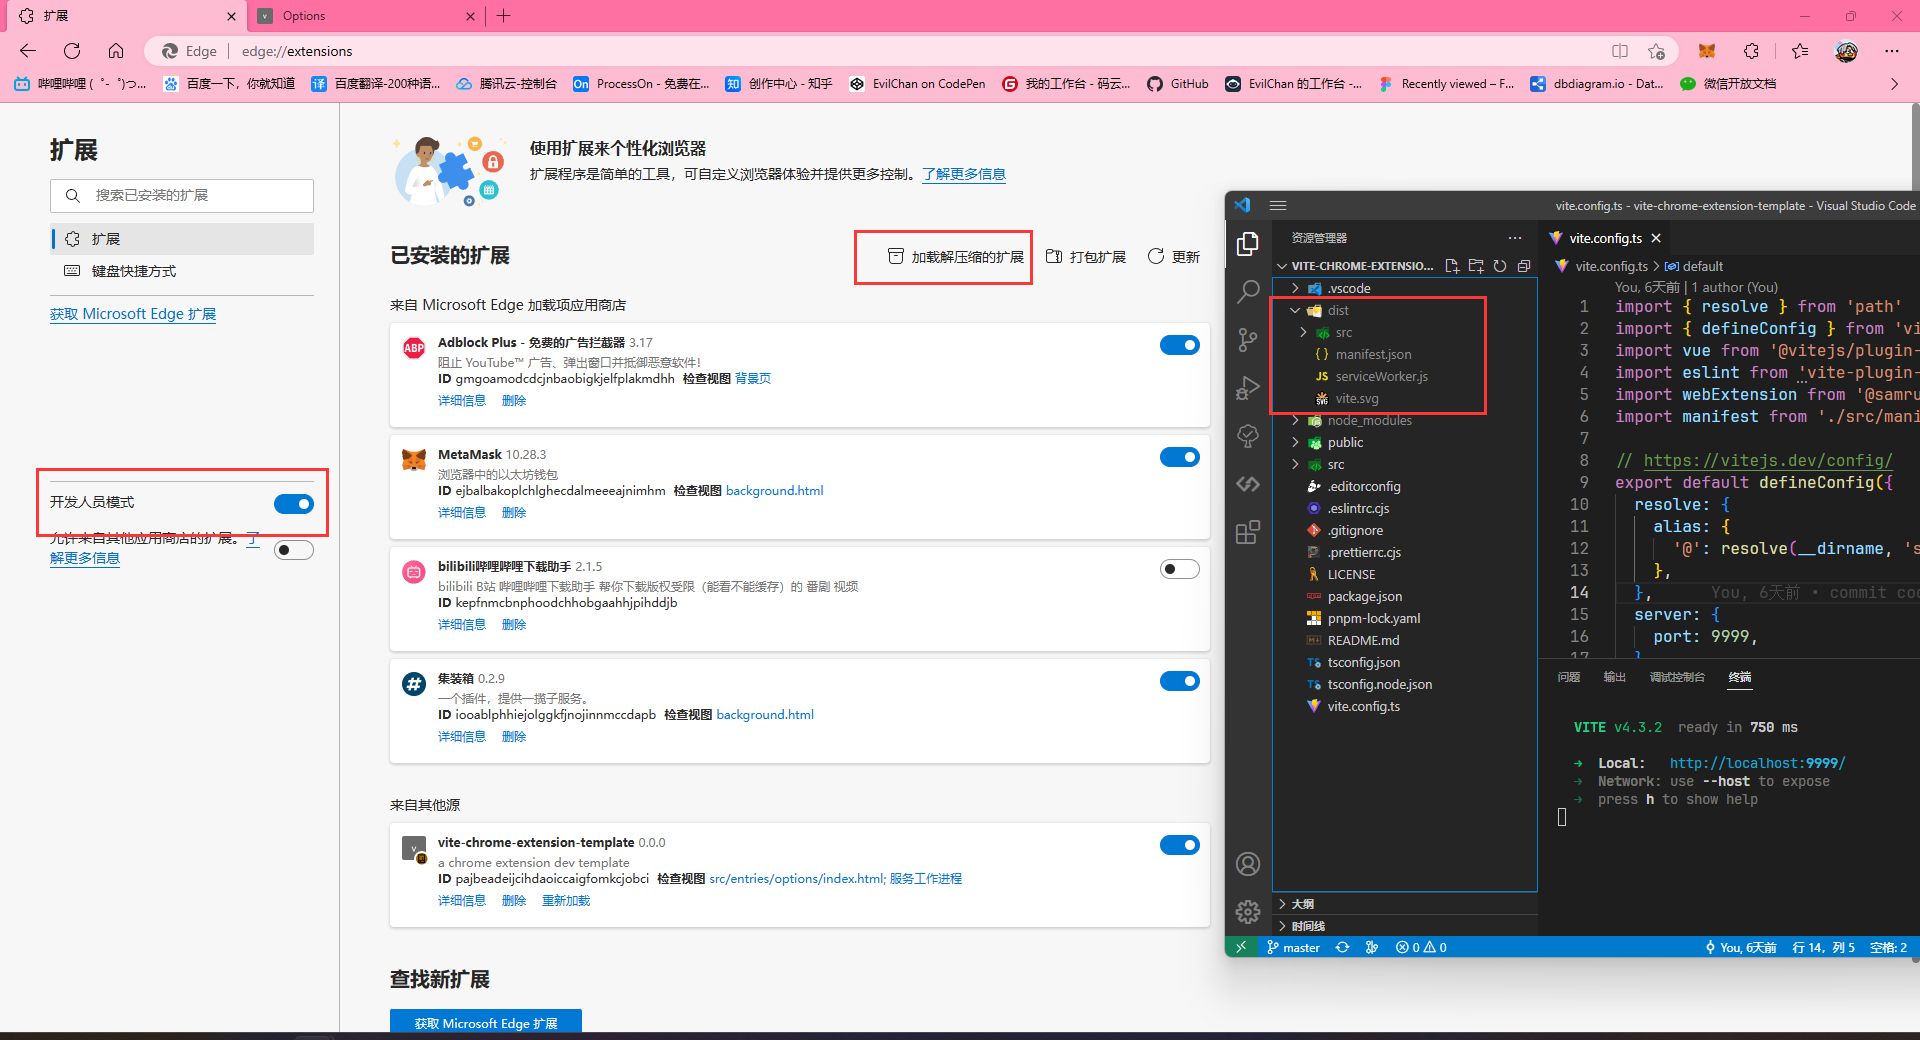
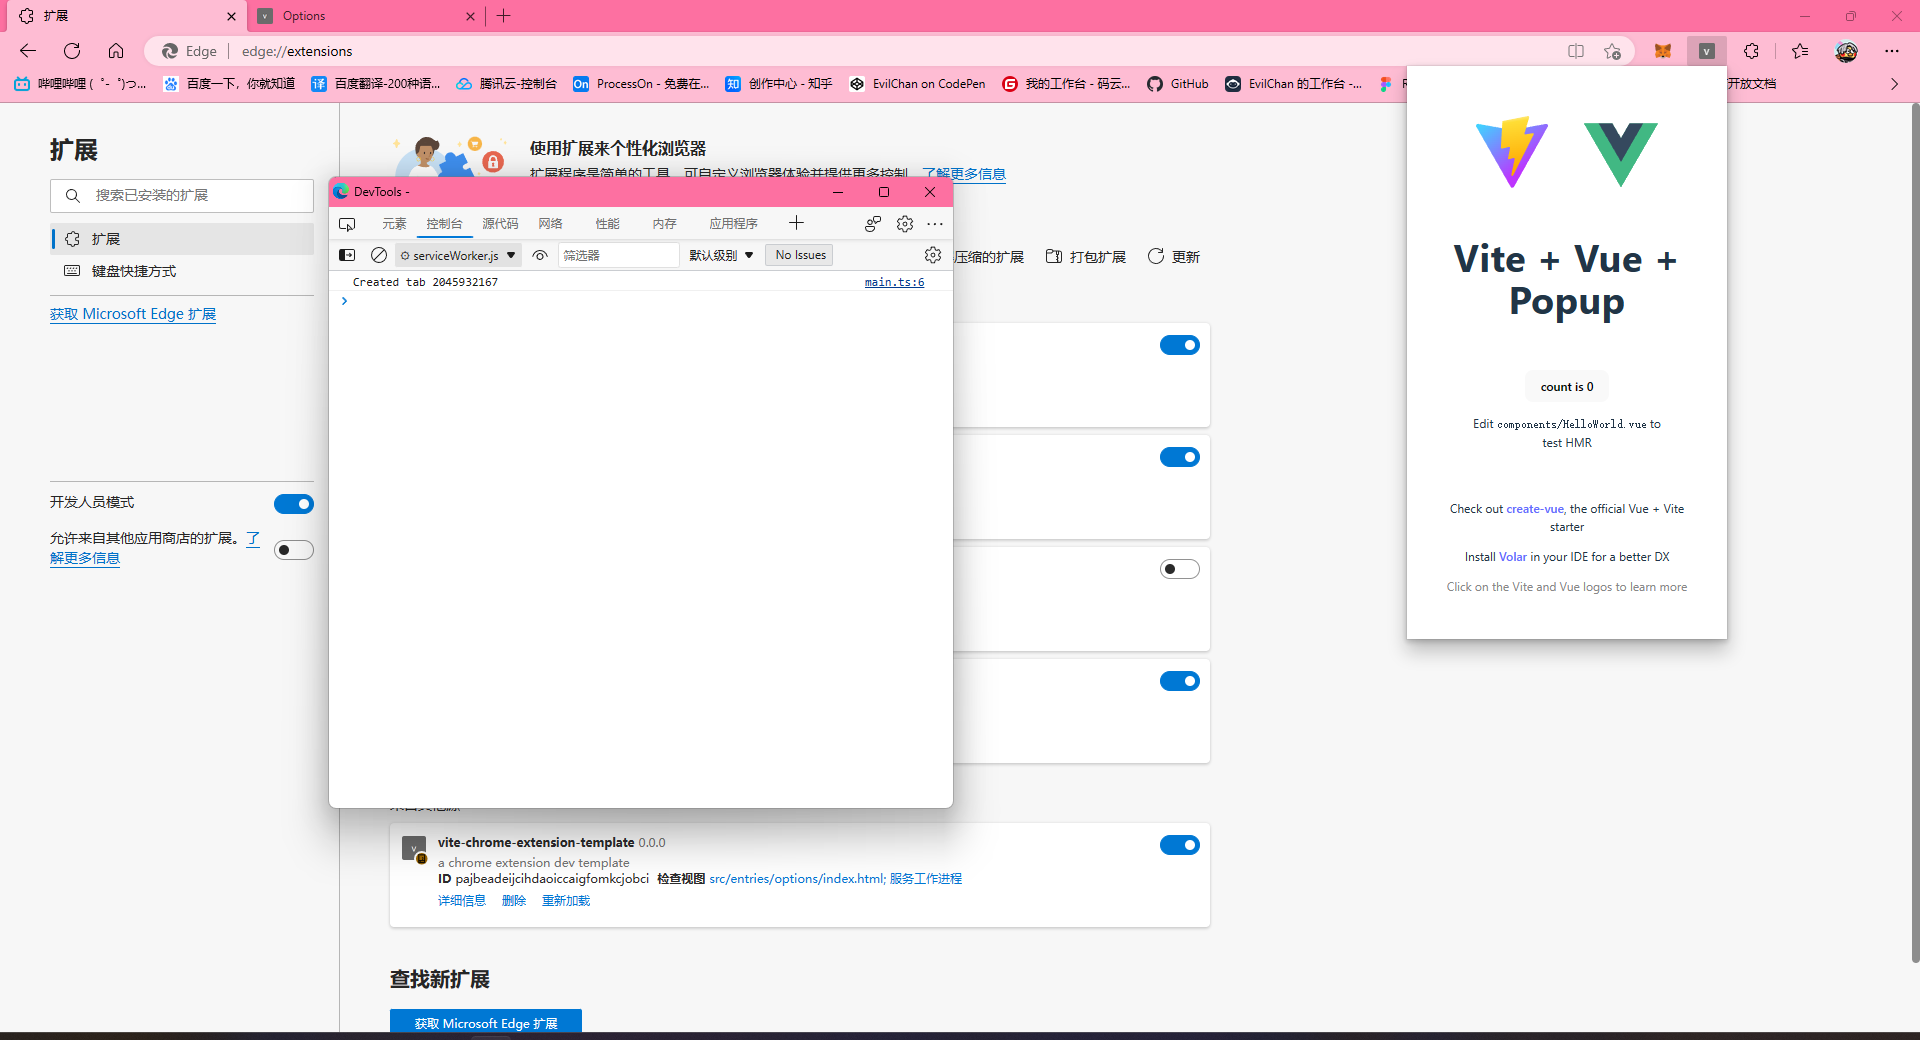
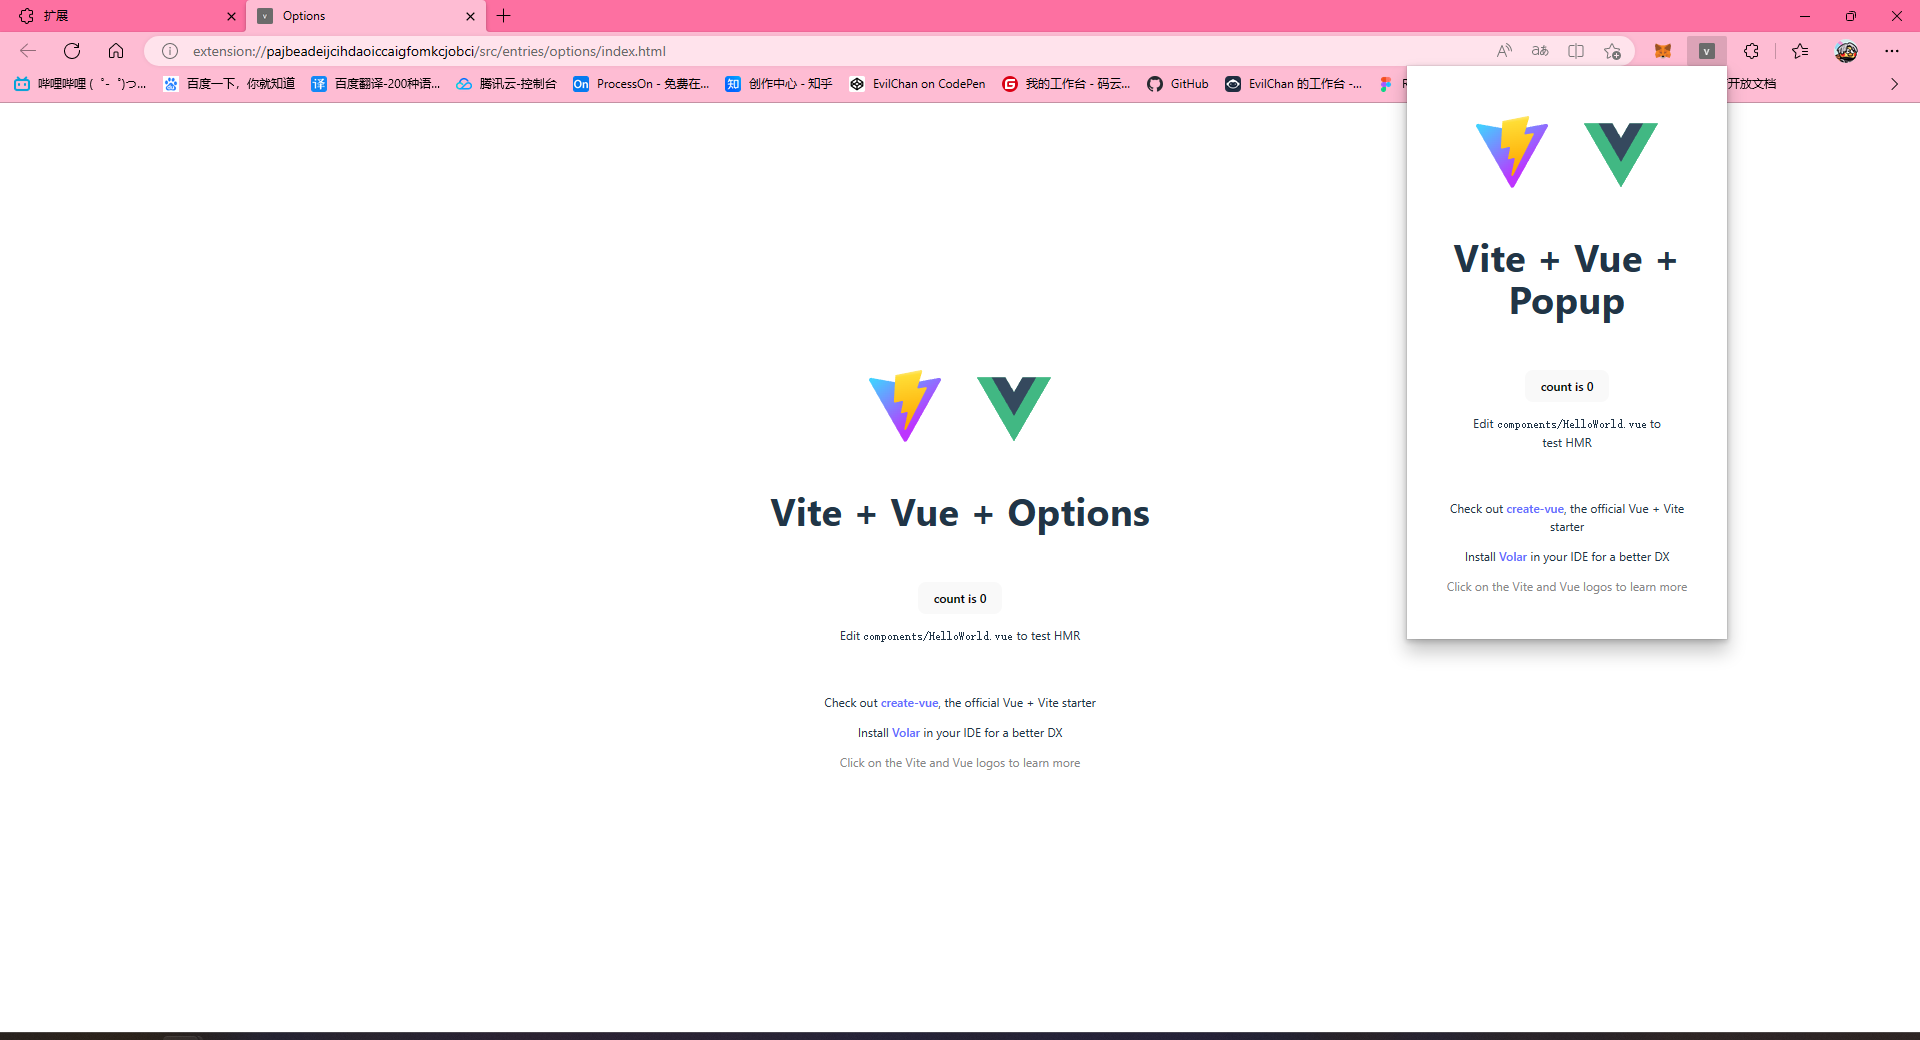
调试运行
我使用的是 Microsoft Edge 浏览器,基于 chromium 内核,所以与 chrome 浏览器的操作几乎是一致的。通过右上角的 … 打开扩展页面,将左侧的开发人员模式打开,点击加载解压缩的扩展,然后选择项目文件的 dist 目录即可。
生产构建
源码学习
vite-chrome-extension-template - GitHubhttps://github.com/EvilChan/vite-chrome-extension-template.git